With the new WSCAD ELECTRIX you can now better integrate DXF/DWG files into the WSCAD software.
DXF/DWG files can contain, for example, floor plans that you can integrate into your electrical installation planning. Often DXF/DWG drawings are also used as a basis for process engineering or for TGA automation schemes.
Up to now there were the following possibilities to import a DXF/DWG file into an existing project page via the main menu command File | Import | DXF/DWG. In all cases you can exclude layers from the import that are present in the DXF/DWG file but are not needed. And you can simply place WSCAD elements on the drawing to provide the DXF/DWG drawing with information such as various component parameters that are relevant for later reports.
- As image
Here the DXF/DWG file is inserted as background. It is not possible to edit the file. Layers available in the drawing can no longer be shown or hidden after the import. - Embedded
All layers taken over during import can be subsequently shown or hidden. This increases the transparency when placing further WSCAD elements. Editing the embedded DXF/DWG file directly in the WSCAD software is not possible, but it can be exchanged with a corrected version directly in the project directory. - Converted to WSCAD format
Here all DWG elements are converted into WSCAD format. The drawing can thus be fully edited. All layers taken over during import can be subsequently shown or hidden. However, the reference to the original drawing is lost during the conversion and subsequent changes to the drawing cannot be adopted.
These options are continuously available in the ELECTRIX software.
In addition, the newly implemented functionality “Based on DWG” has improved the editing of DXF/DWG drawings in a first step.
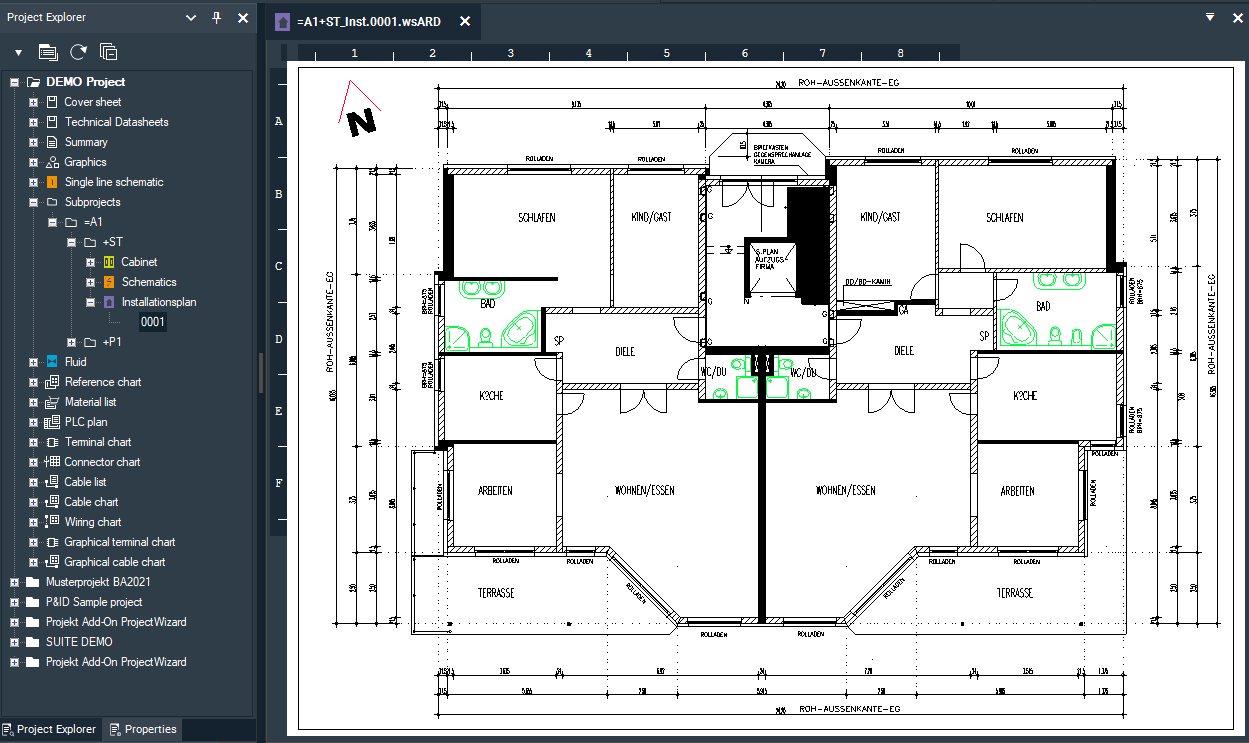
You can select a DXF/DWG file as soon as you create a page. A copy of the DXF/DWG file is automatically saved in the project directory “Graphics” and it is directly referenced to this DXF/DWG file. You can then share the DXF/DWG file for editing. You can move and delete elements and change some properties. If the elements in the DXF/DWG file are arranged on different layers, the layers are transferred to the project-related WSCAD layer management and can be made visible or invisible there. In addition, layers can be locked and other colors can be assigned to them. Changes are saved directly in the referenced DWG file.
Note:
If you replace the copy of the DXF/DWG file in the project directory “Graphics” with another DXF/DWG file with the same file name, the contents of this new file will be displayed in the project page.
Example: Moving elements
DXF/DWG files that have already been embedded (e.g. in the case of a project import from a previous WSCAD version) can be converted into a referenced DXF/DWG file via the context menu command DWG functions | Convert based on DWG of the page.
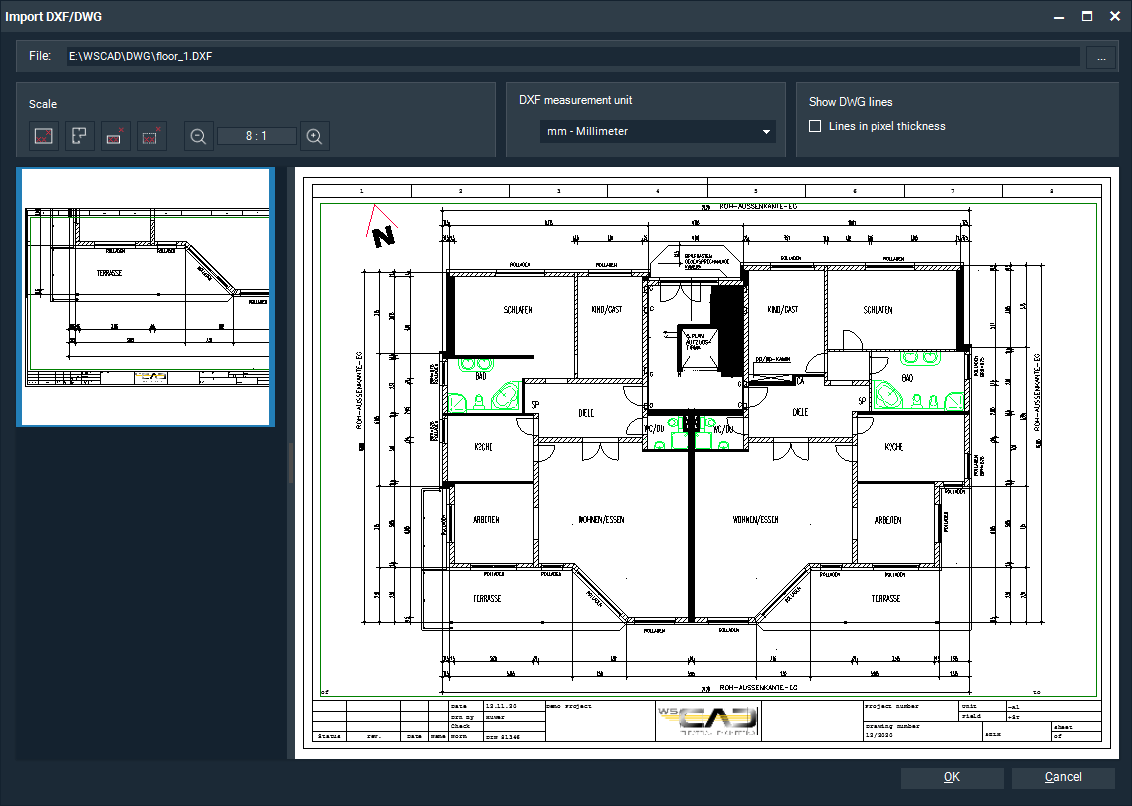
Importing DXF/DWG file
- To create a new page you have the following options:
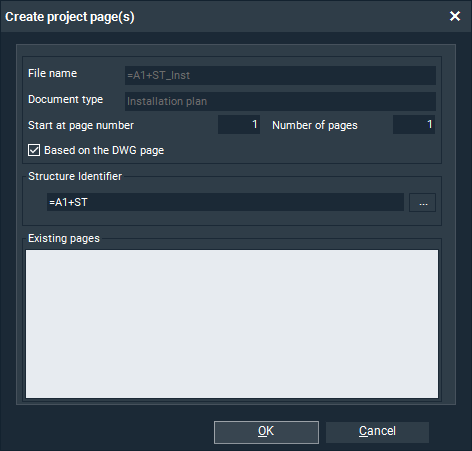
- Click on File | New. Select the document type (e.g. installation plan) and click OK.
- In the Project Explorer, navigate to the relevant collection folder (e.g. Installation plan) and select the New page context menu command.
- Select the Based on the DWG page check box and click OK.

- Select the DXF/DWG file and click Open.
- Adjust the unit of measurement and scale.
Note: Use the left mouse button to move the drawing and the mouse wheel to increase or decrease the scale. You can also enter the scale directly in the field.

- If some lines of the DXF/DWG file (e.g. medium connection lines or frame lines) appear too thick after the import, you can activate the Lines in pixel thickness check box here the next time you try to import.
- Click OK. The drawing is displayed on the project page.
- If you want to edit the drawing, click the Edit DWG context menu command of the page. Now you can select single or multiple elements and move them, delete them or change their properties (e.g. color or line thickness).
I hope this blog has helped you. You can download this article free of charge.

Thomas Janowicz, Technical Writer
Documentation Management